Creating a family is fast#
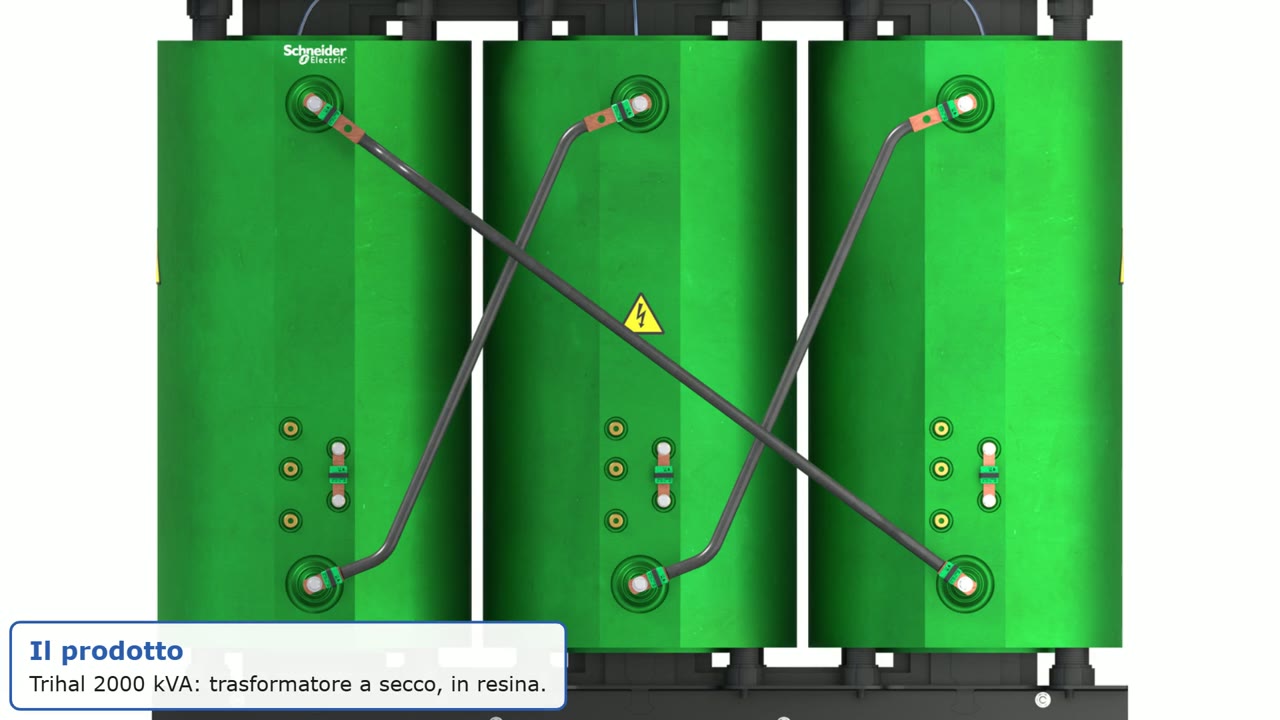
The sequence, in twelve chapters#
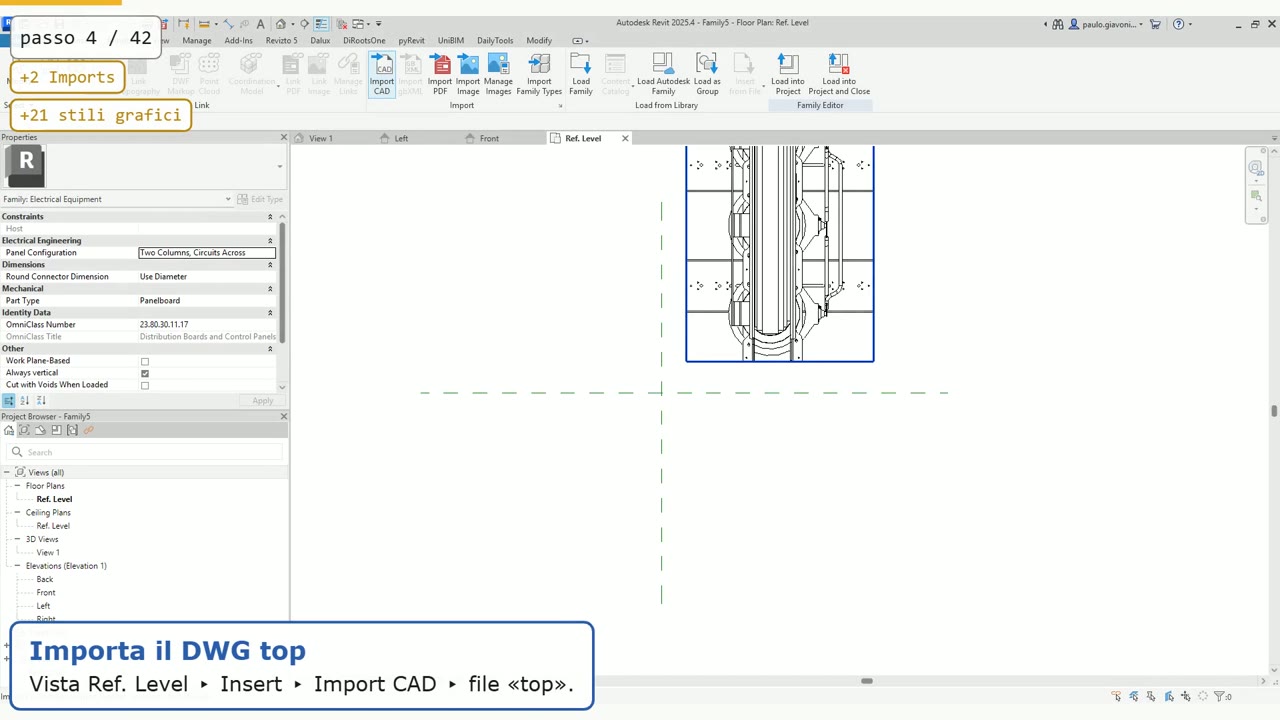
2. DWGs in the views. In the Ref. Level view, import the «top» DWG (Insert, Import CAD), lock it with Pin and center it. Same routine in the Front, Left and Right views.
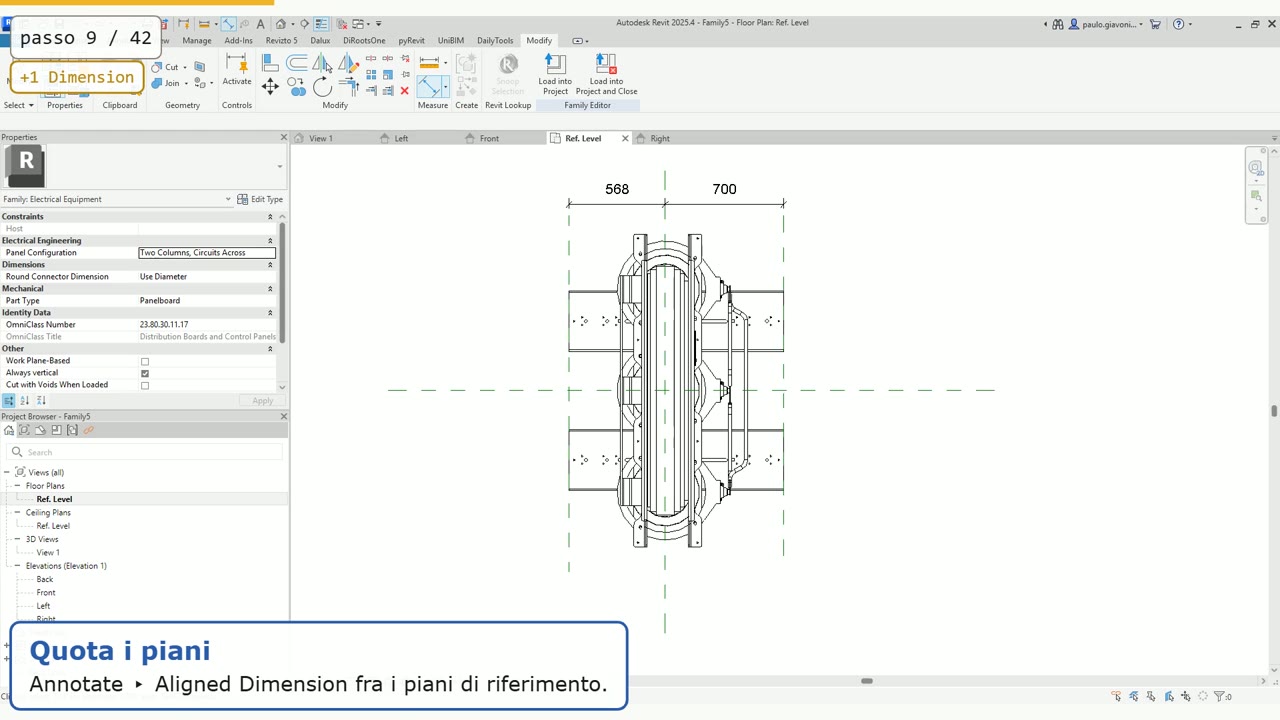
3. Planes and parameters. A Reference Plane near the edge of the body, Align to the DWG line, an aligned dimension between the planes, and from that dimension come the Width and Length parameters. This is the skeleton of the family.
4. The body: Sweep. The path follows the DWG in plan and snaps to the planes with Align and the padlock; the profile is drawn in the Right view over the DWG and aligned with two Aligns.
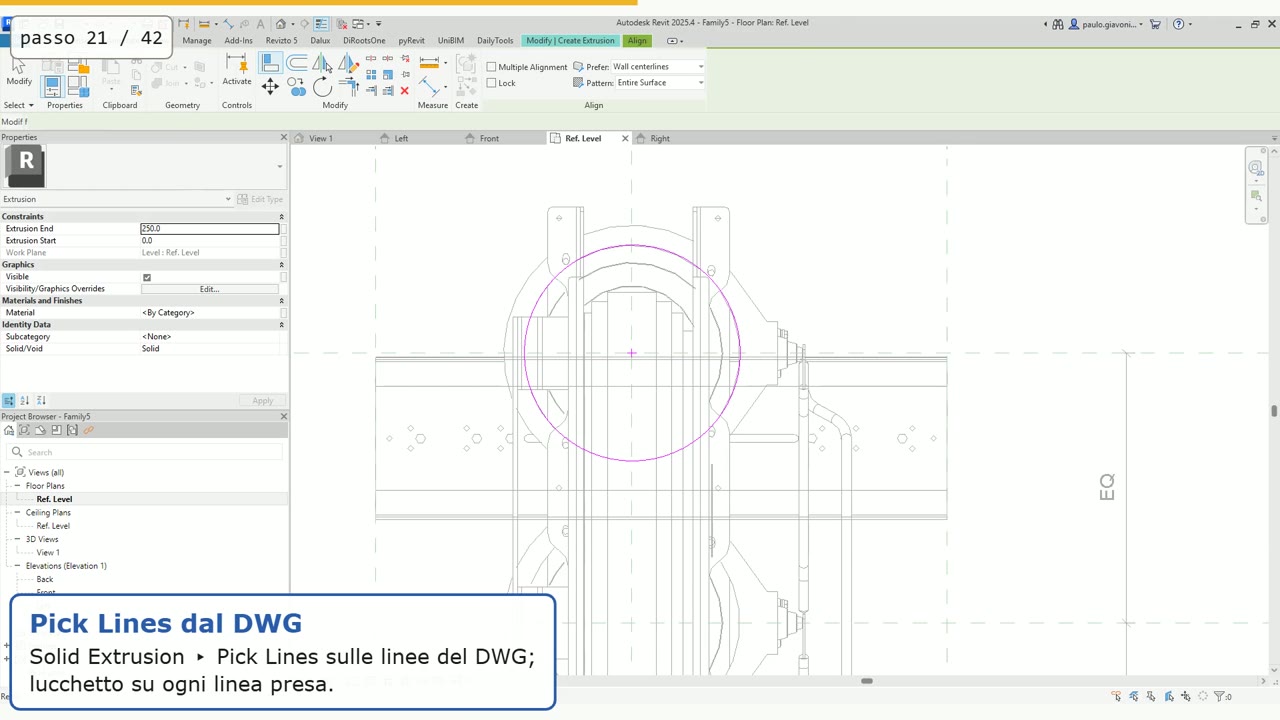
5. Base and constraints. Reference planes with Mirror, a multi-segment dimension with EQ, and an extrusion made with Pick Lines directly on the DWG lines.
6. Check in 3D. Early, not at the end: Default 3D View, Shaded, Fine Detail.
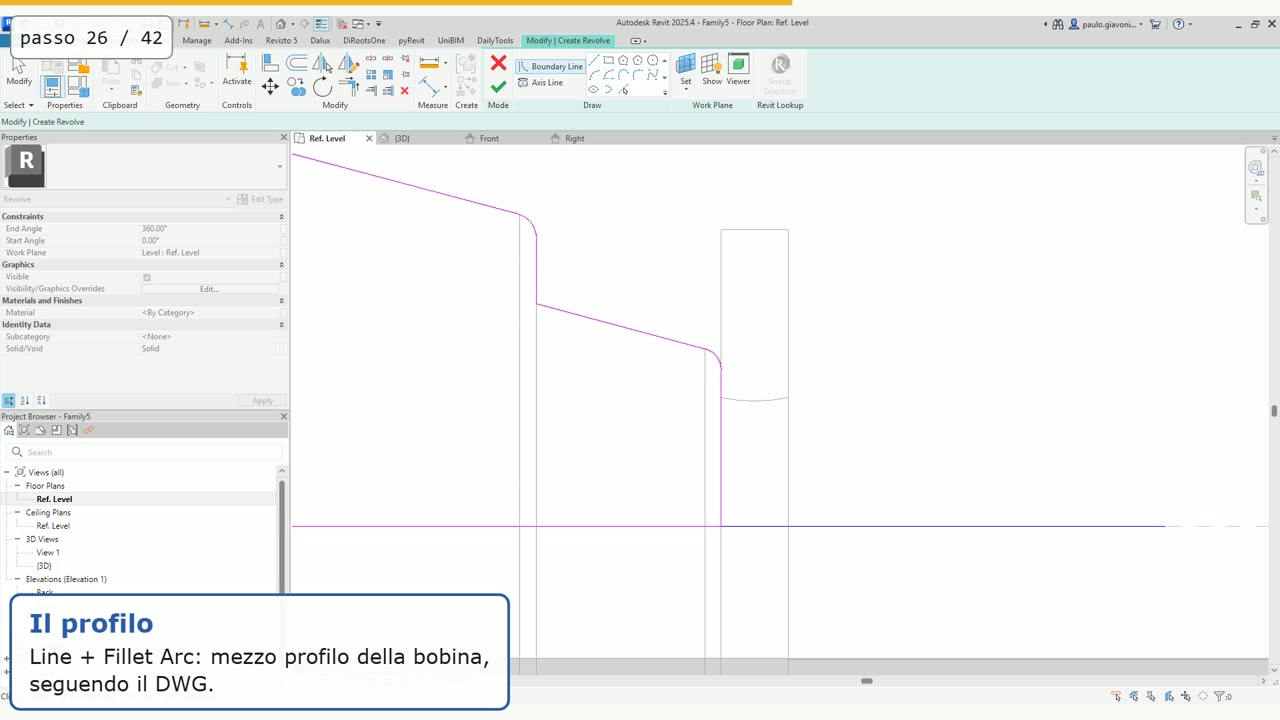
7. The coils: Revolve. The axis at the center of the column, taken from the DWG; half a profile with Line and Fillet Arc; Finish, then Copy onto the other two columns.
8. The frame. A new Sweep, with the path running behind the columns and the upright’s profile drawn in the Back view.
9. Front details. The busbars with an extrusion in the Front view, the insulators with a small Revolve, copied onto all three phases.
10. The cables. A Sweep with a filleted path (Line and Fillet Arc) and a circular profile, the diameter of the cable.
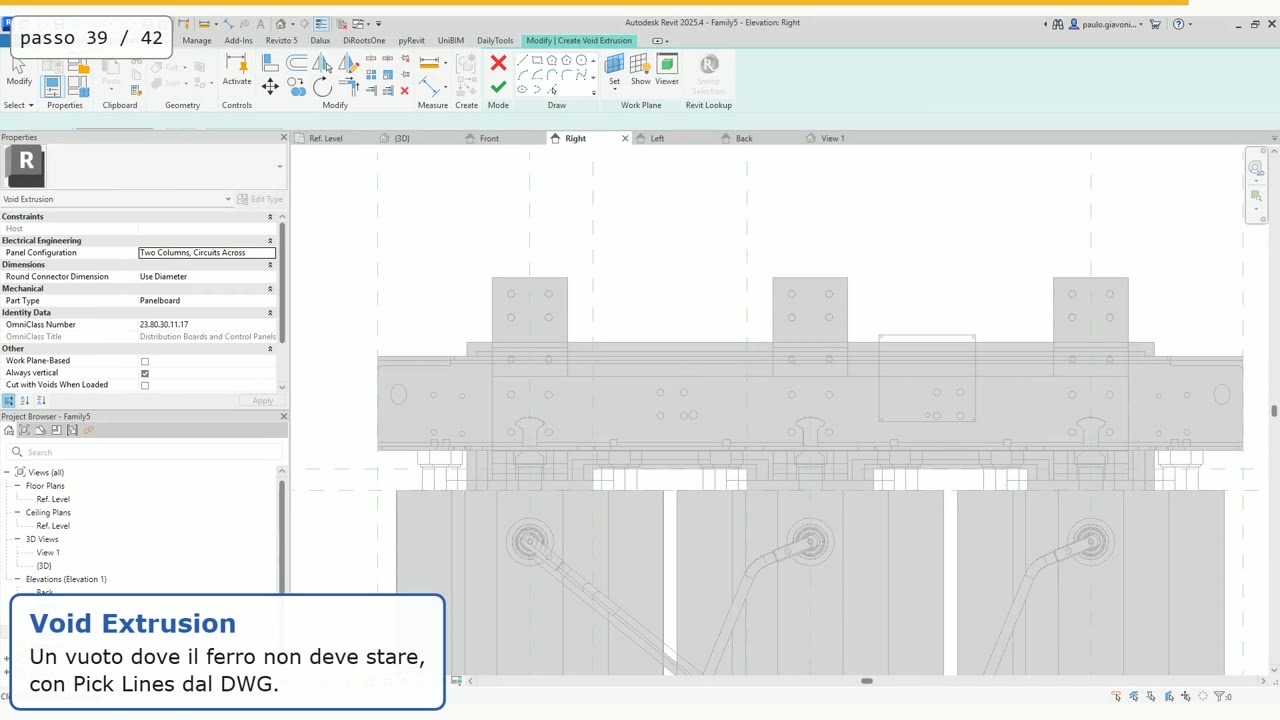
11. The cut. A Void Extrusion where the steel shouldn’t be, and Cut Geometry to make it cut the solid.
12. Materials. Material Browser from the solid’s properties: green for the coils, blue for the base.
Why reference planes matter#
The geometry locks to the planes, not to the DWG lines. That’s what keeps the door to parameters open: later on you decide which dimensions should flex, and which shouldn’t, without redoing anything.
Watch the video#
A tutorial with no voice-over, 42 numbered steps: every screen is shown whole and still, with the command path written out in plain text. Recorded in a real Revit 2025 session with the Rec Sessione tool. Watch, pause, redo. The video is in Italian.
The full video is on YouTube: if you liked it, subscribe to the channel and hit the bell for the next episodes.
Questions or comments?
Questions about the videos and the book are welcome: write to me, or comment under the video on YouTube.
On LinkedIn I post every video from the channel, with a few extra lines.