Revit Family Editor: The Five Forms You Can Build Anything With
Your first time in the Revit Family Editor: the five forms on the Forms panel, extrusion, blend, revolve, sweep and swept blend, plus voids, explained one button at a time.
A table, a lamp, a transformer, a handrail: every object in Revit is built with five forms, and then with voids, which are the same five in negative. This is an introductory tour of the Family Editor: no real family, no parameters, just what each button on the Forms panel does.
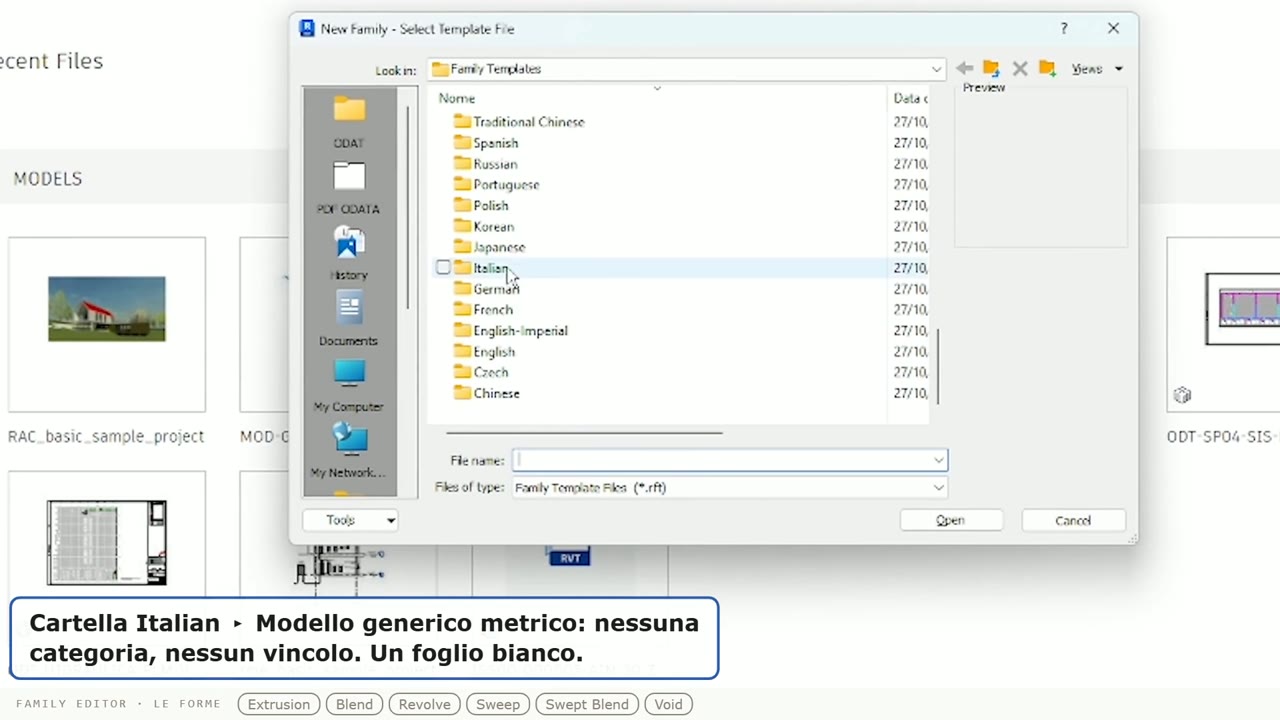
File, New, Family: the Italian folder and the Modello generico metrico template
File, New, Family. In the Italian folder there’s «Modello generico metrico» (the Metric Generic Model template): no category, no constraints, a blank sheet. Inside the Family Editor, the Create tab has no walls or doors: it has forms.
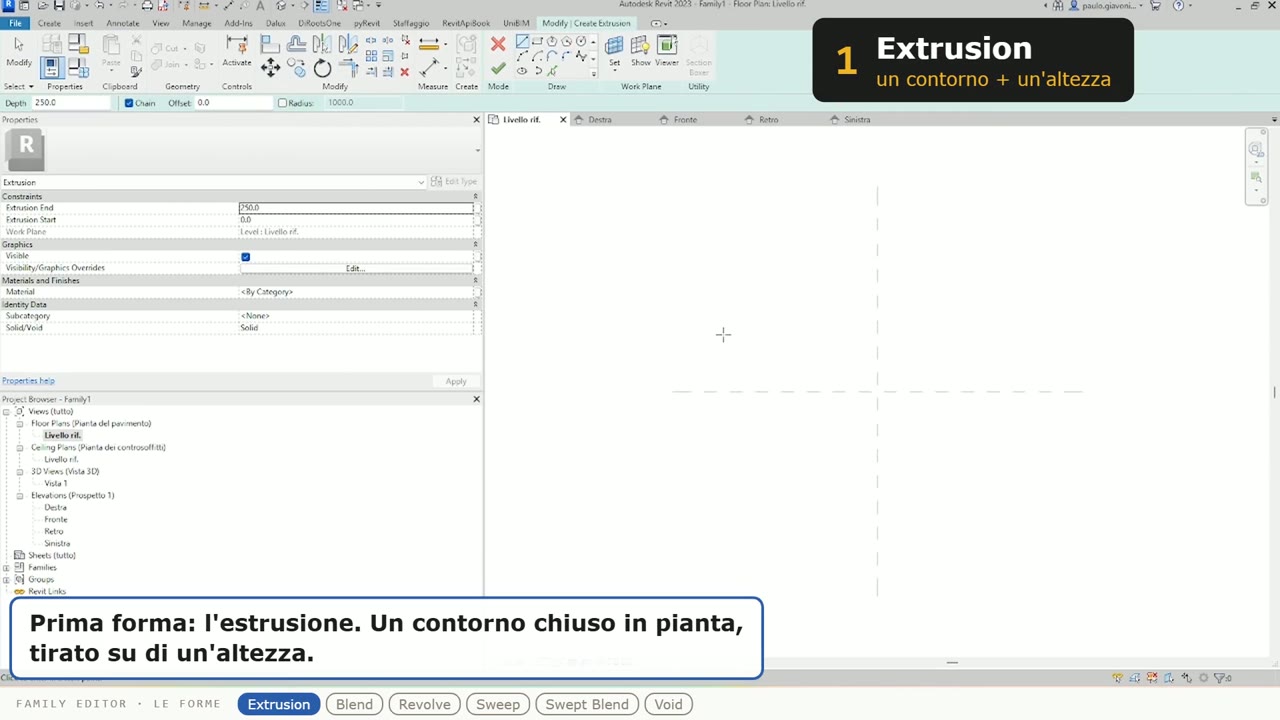
Before you draw, two things you’ll run into right away. Family Types: a family can have several types, same geometry, different values. And the Project Browser, with the views the family already has: a floor plan, «Livello di riferimento» (Ref. Level), four elevations and a 3D view. In the Fronte (Front) elevation there’s just one line: it’s the reference level, the floor of the family.
Extrusion: a closed boundary in plan, pulled up to a height
The simplest one. You sketch a closed boundary in plan and Revit pulls it up. In the properties, Extrusion End is the height. In 3D the form reads better with Graphic Display Options, Shaded. When it’s selected, it shows the blue arrows: drag, and the height changes on the fly.
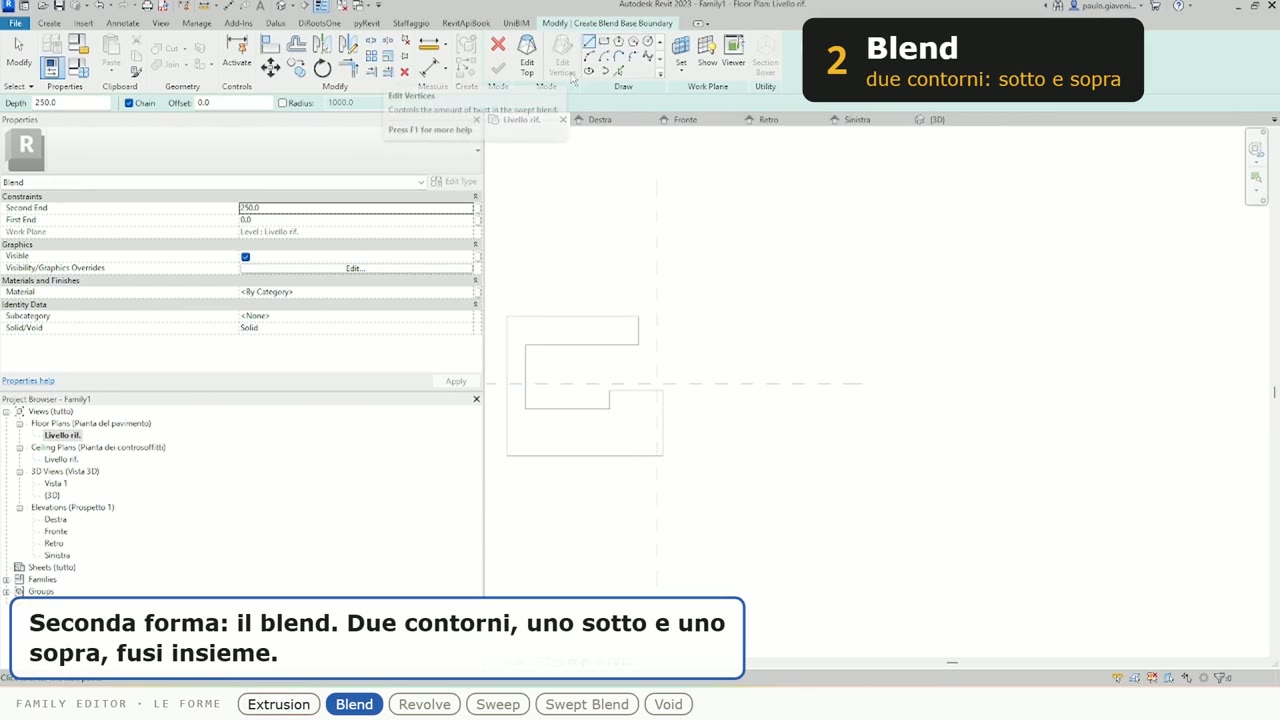
Blend: the bottom boundary and the top one, merged
One boundary at the bottom (Base Boundary) and one on top (Edit Top), and Revit blends them. They don’t have to match: six sides below, eight above, a circle. When to use it: a vase, a tapered column, a hip roof.
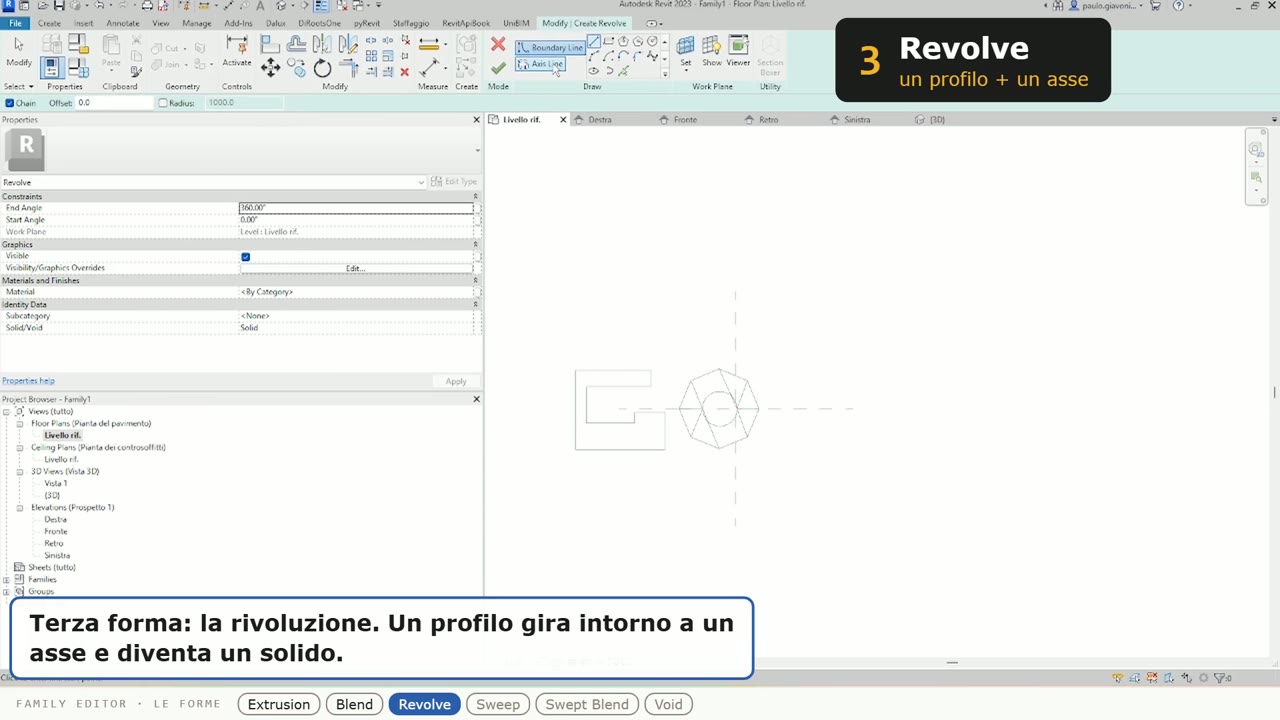
Revolve: the stepped profile spinning around the axis
Boundary Line is the profile, like half of a lathe-turned part. Axis Line is the line it spins around. In 3D you get a shaft with its collar. Knobs, pipes, lamps, columns: anything round is born this way.
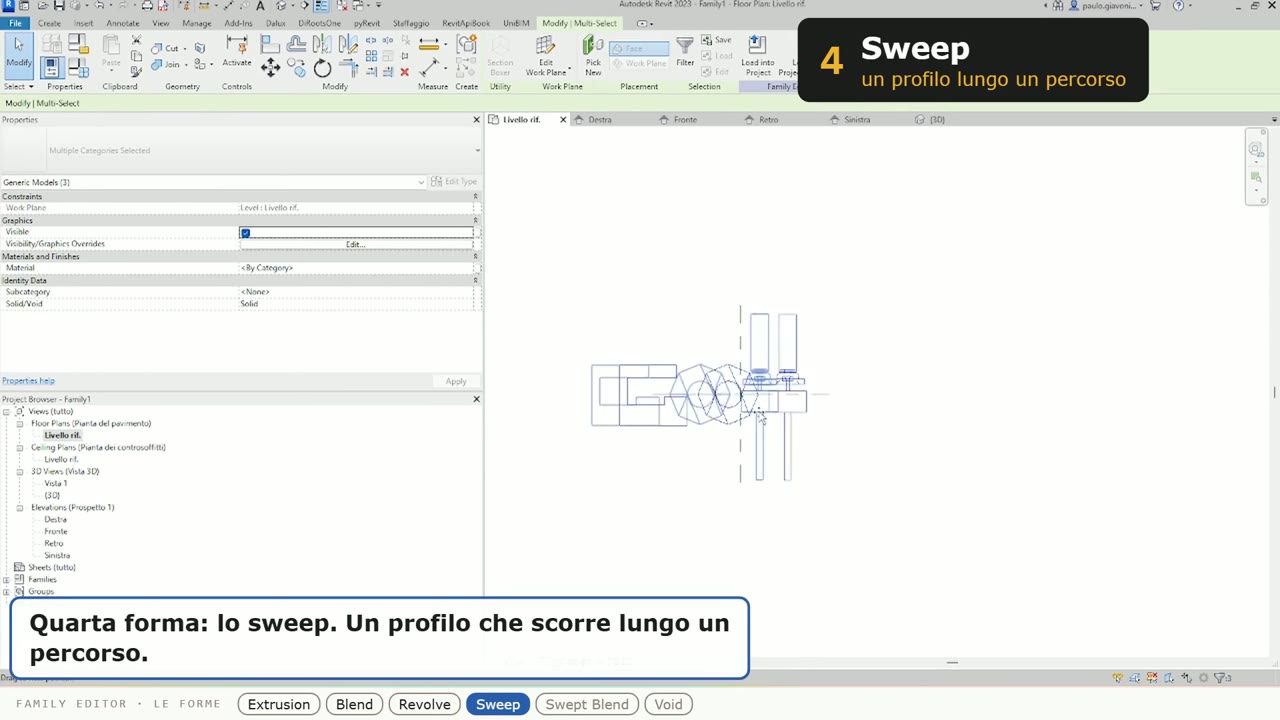
Sweep: a spline as the path, a circle as the profile
Two things to do: Sketch Path, the path, as curvy as you like; Profile, the cross-section. The profile lies in a plane perpendicular to the path, which is why Revit asks which view to draw it in. Handrails, piping, moldings, baseboards.
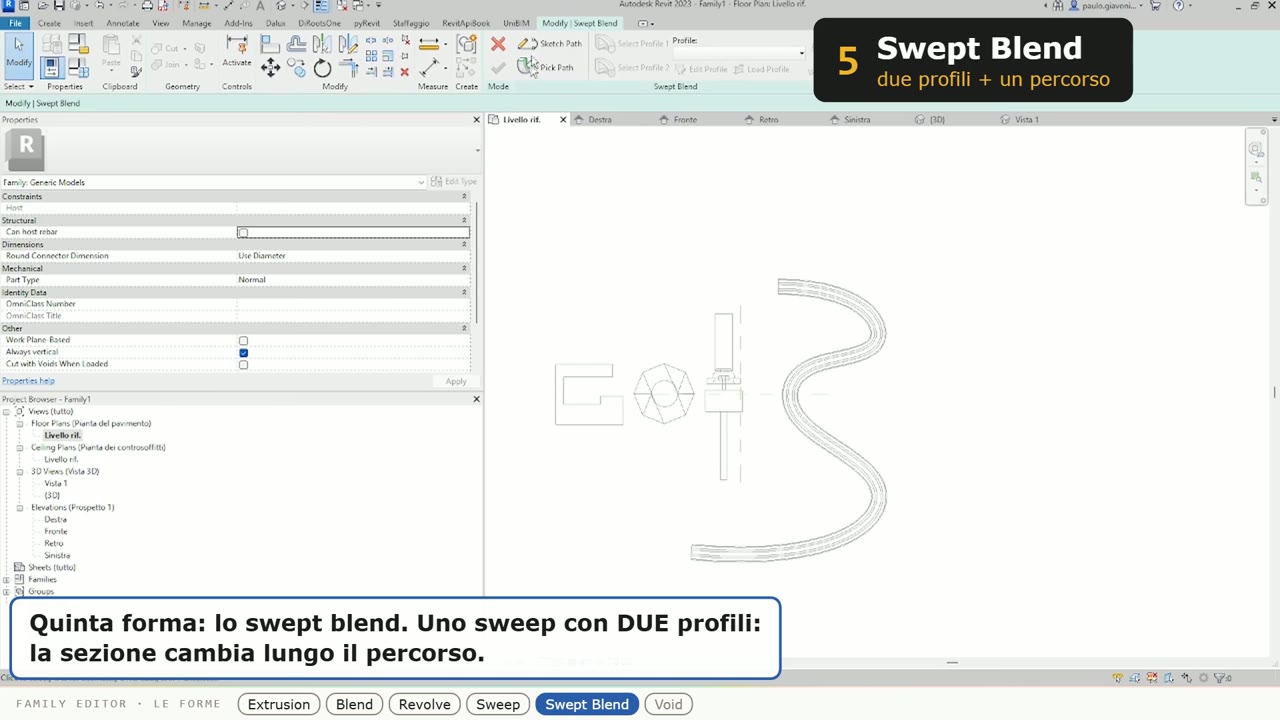
Swept Blend: two circles of different diameters, the section changes along the path
A sweep with two profiles, one at the start and one at the end: the section changes along the path. The most flexible of the five, and the least used.
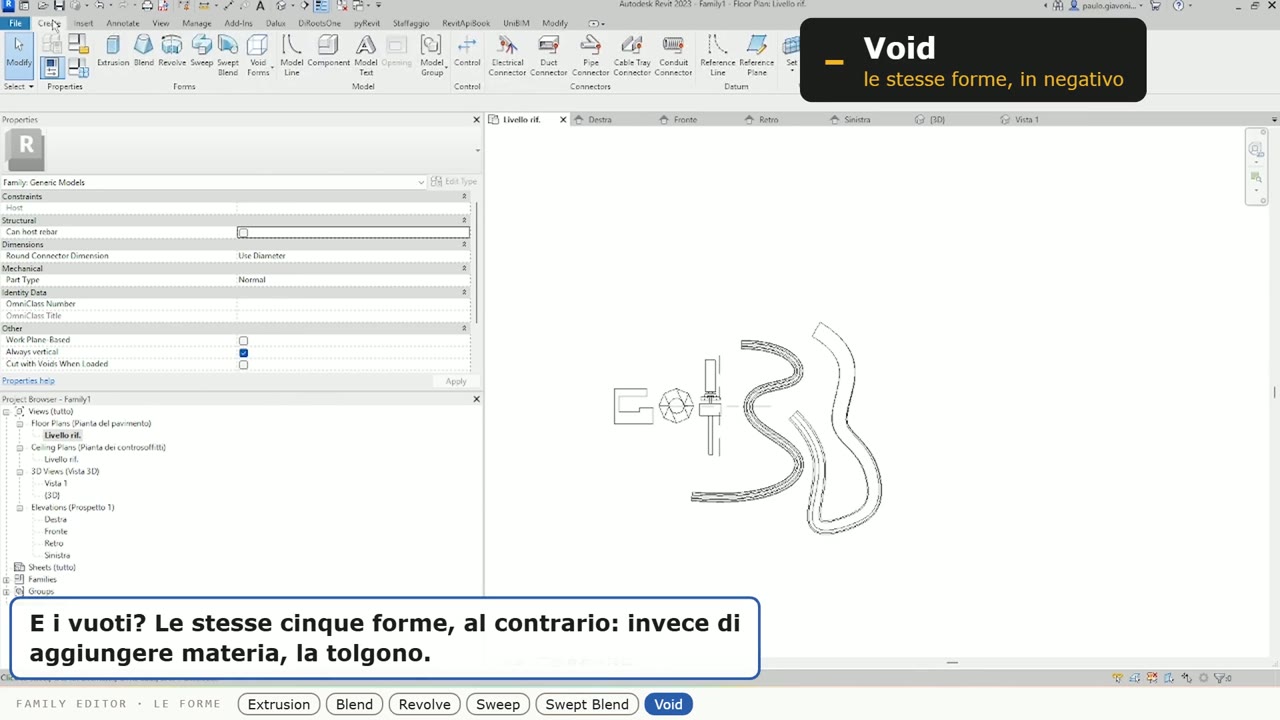
Void: the same five forms, but they remove material
The Void menu has the same five forms, but they remove material instead of adding it. Void Extrusion cuts the C; Void Sweep drills a through-hole in the turned shaft. The void only shows up when you select it.
Six minutes of screen, no voice-over: you follow along by reading, one action at a time, with the name of the form and its formula on a card. Pause, redo, carry on. The video is in Italian.
The full video is on YouTube: if you liked it, subscribe to the channel and hit the bell for the next episodes.