The problem: PDF markups from the field#
Over the last few months, I've been working on a project where as-built information from the construction site (here in Italy, we call it cantiere) arrives with comments written directly on PDFs, as shown below.
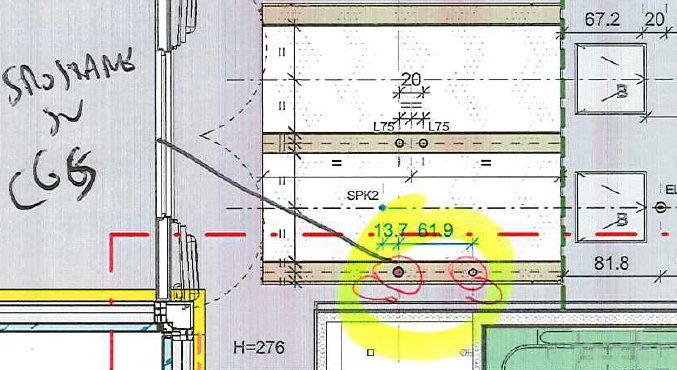
From a technological standpoint, this is hard to justify. Today, we have plenty of tools that allow site feedback to be delivered directly through BIM models. However, this is an old project, and changing the workflow would be more expensive than keeping it as it is — or maybe no one ever stopped to question it. Either way, the problem exists, and we need to find a solution.
The question that started it all#
One day, a modeler on my team asked me something that seemed simple: "Is it possible to apply transparency to a PDF after inserting it into Revit?"
Unfortunately, the answer is no — at least not directly. But her idea was brilliant: overlay the PDF on top of the modeled elements and update the model while seeing the site comments at the same time. This would eliminate the constant back-and-forth between two screens.
Converting the PDF to DWG won't help either, because in this case the PDF is scanned, not vector-based. But there's a workaround.
Understanding how Revit handles PDFs#
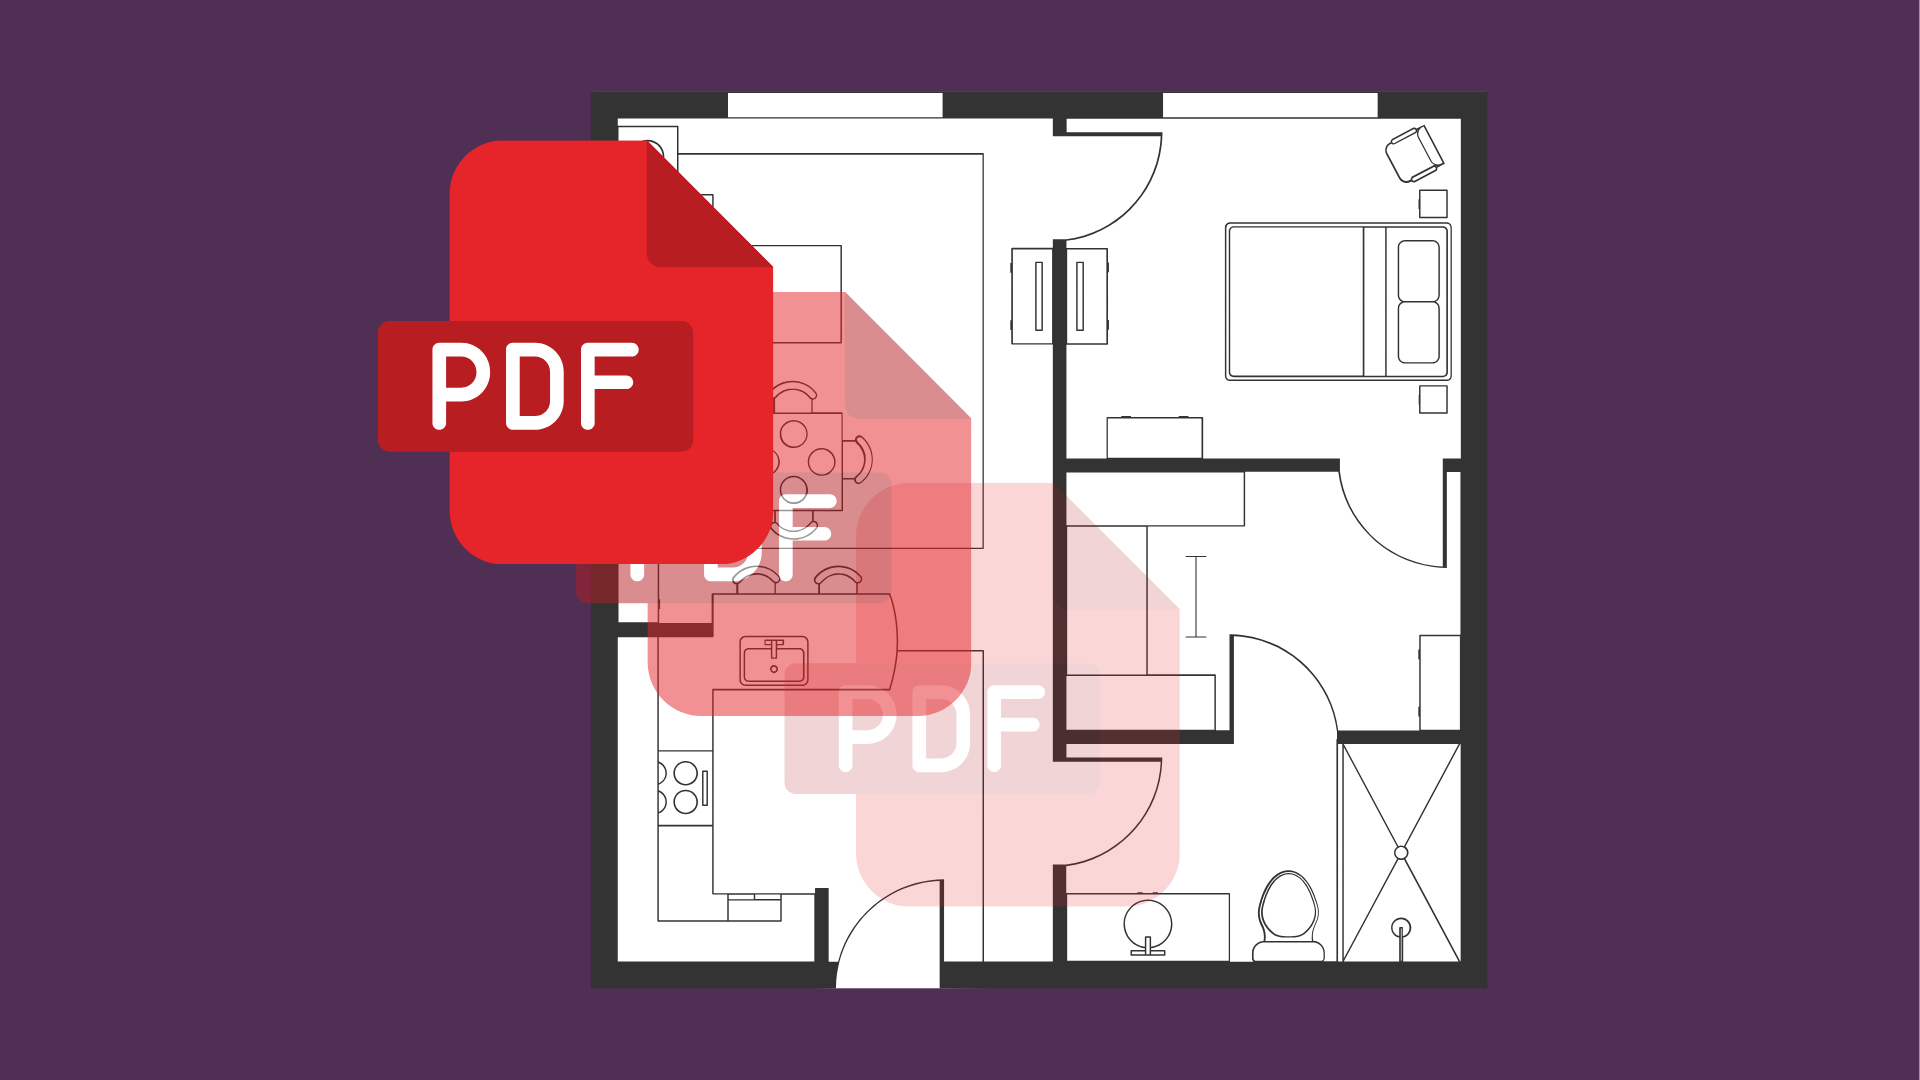
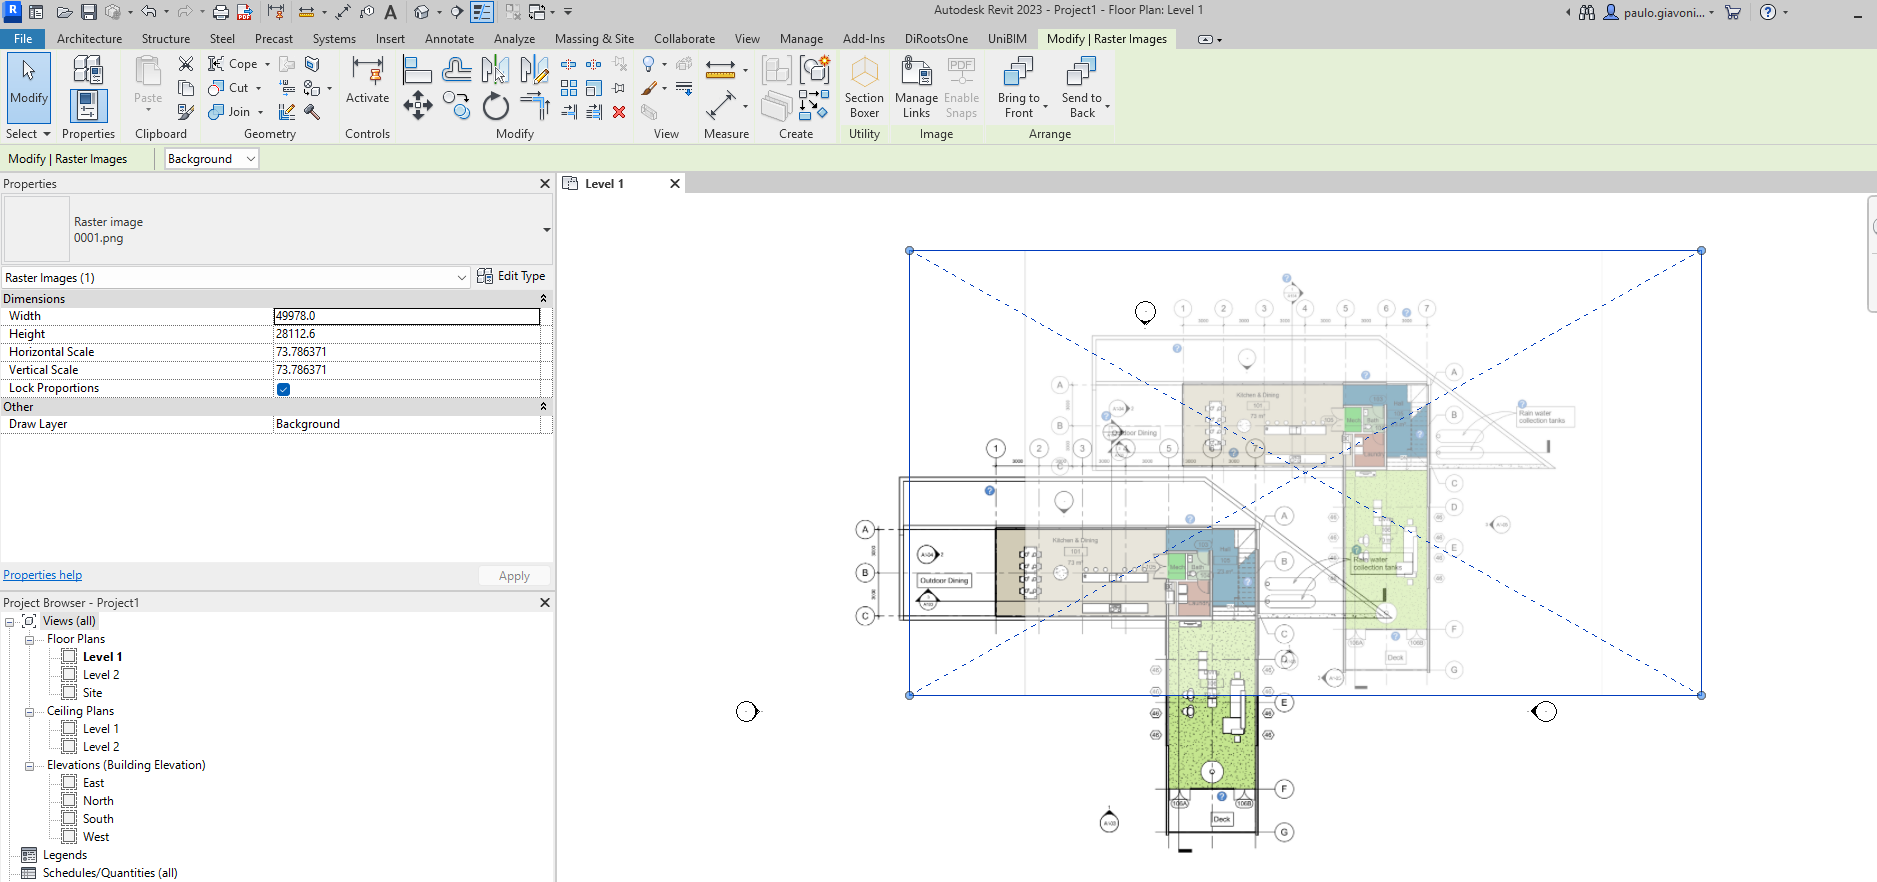
The trick lies in understanding how Revit treats PDFs internally. Once you insert a PDF into Revit, it's no longer just a PDF — it becomes a raster image.
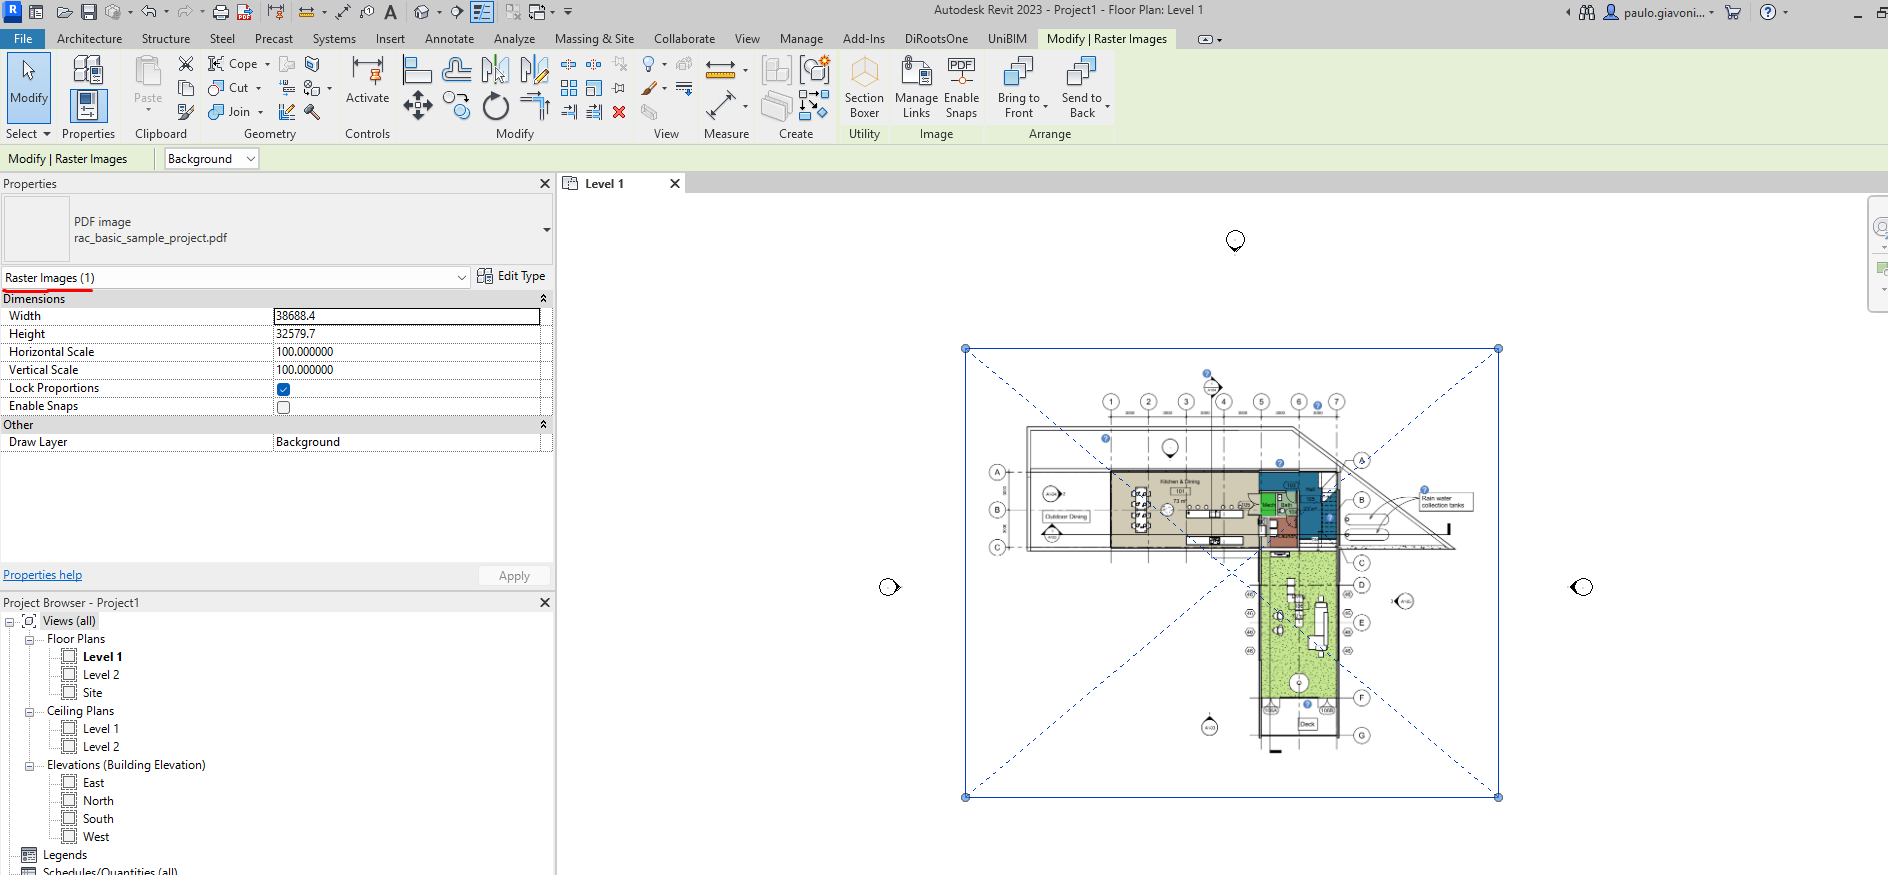
This gives us an opening: if Revit treats it as an image, we can convert the PDF to an actual image format and manipulate it like any other image file.
The manual workaround (step by step)#
Here's how you can do it manually:
Step 1: Convert PDF to PNG
Use a free online tool like iLovePDF to convert your PDF to PNG format. Save it locally in a folder like project_png.
You can convert a PDF to an image for free here:
https://www.ilovepdf.com/pdf_to_jpg
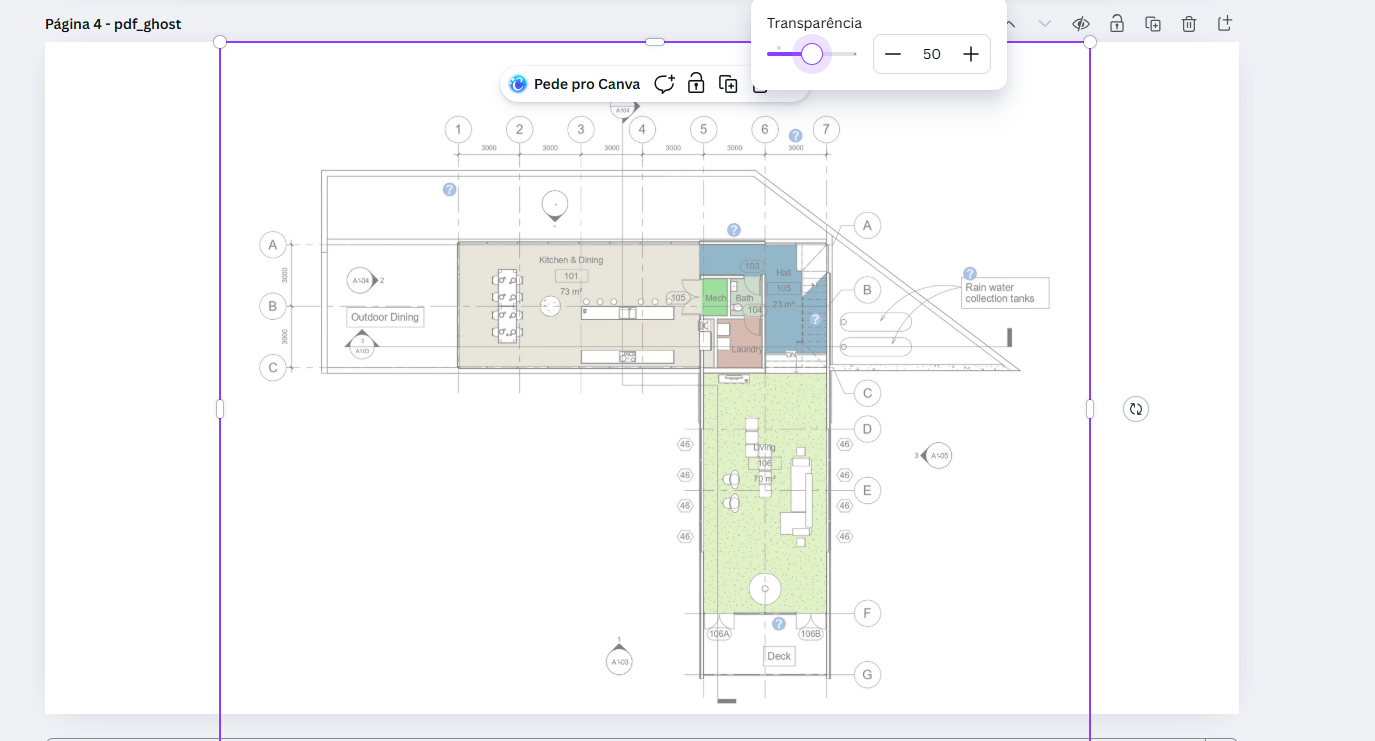
Step 2: Apply transparency
Open the PNG file in an image editor like Canva (free) or Adobe tools. Adjust the transparency to your preferred level — usually somewhere between 40% and 60% works well.
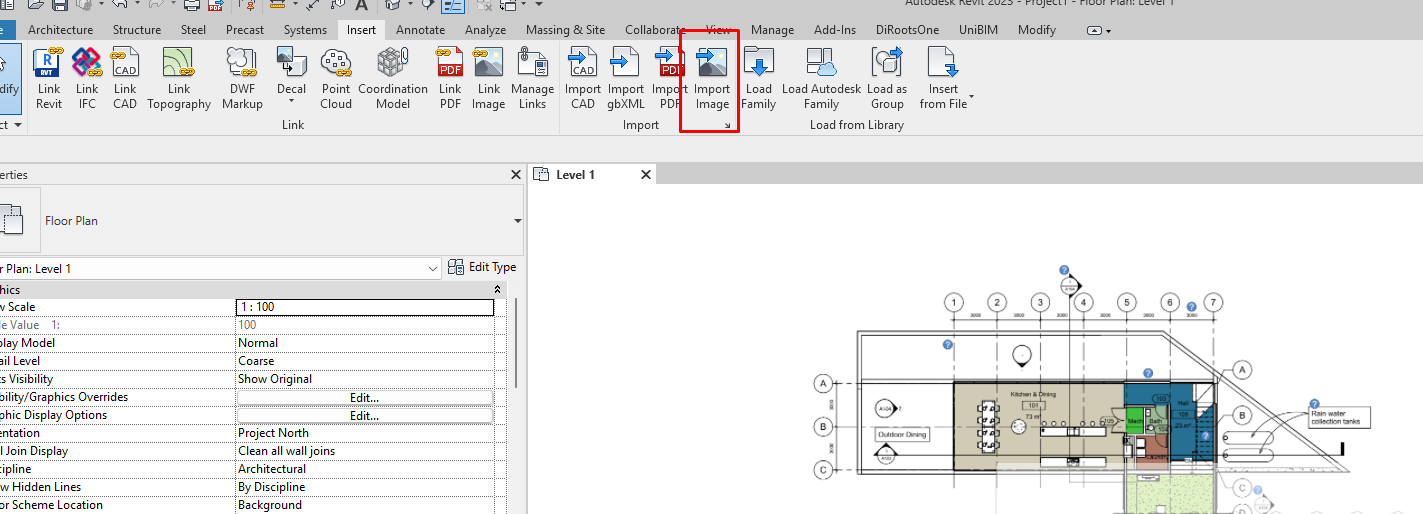
Step 3: Insert back into Revit
Go to Insert tab > Image and load your transparent PNG back into Revit.
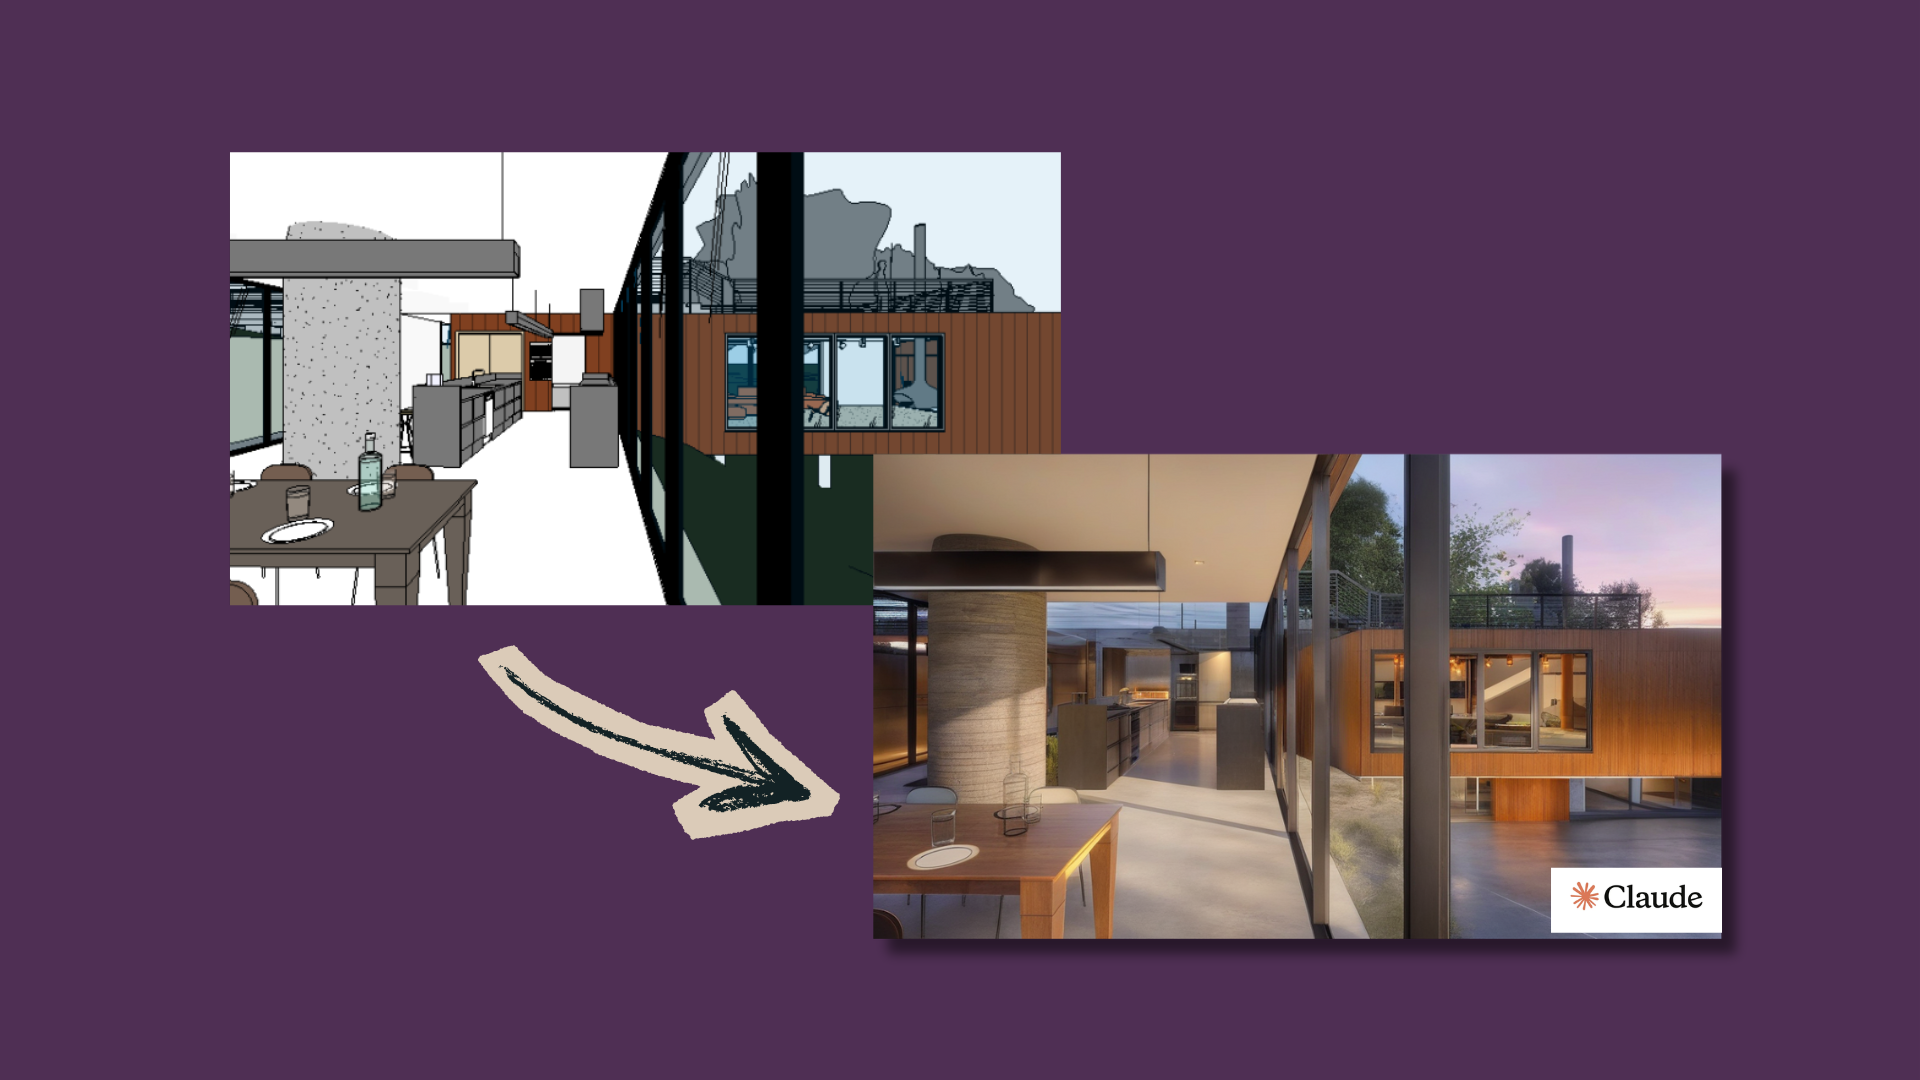
The result
Below you can see the difference. On the left is the original PDF (opaque), and on the right is the same content with transparency applied. Now you can model while clearly seeing the site comments underneath.
The problem with this approach#
This manual workflow solves about 70% of the problem. But there's a catch: every time you need to adjust the transparency level, you have to repeat the entire process — convert, edit, re-insert, and reposition the image. It's tedious and breaks your flow.
Introducing PDF Ghost: the automated solution#
To completely solve this workflow and eliminate all the manual steps, I developed PDF Ghost. It's a free tool that instantly adjusts image transparency directly inside Revit, processing everything locally on your machine.
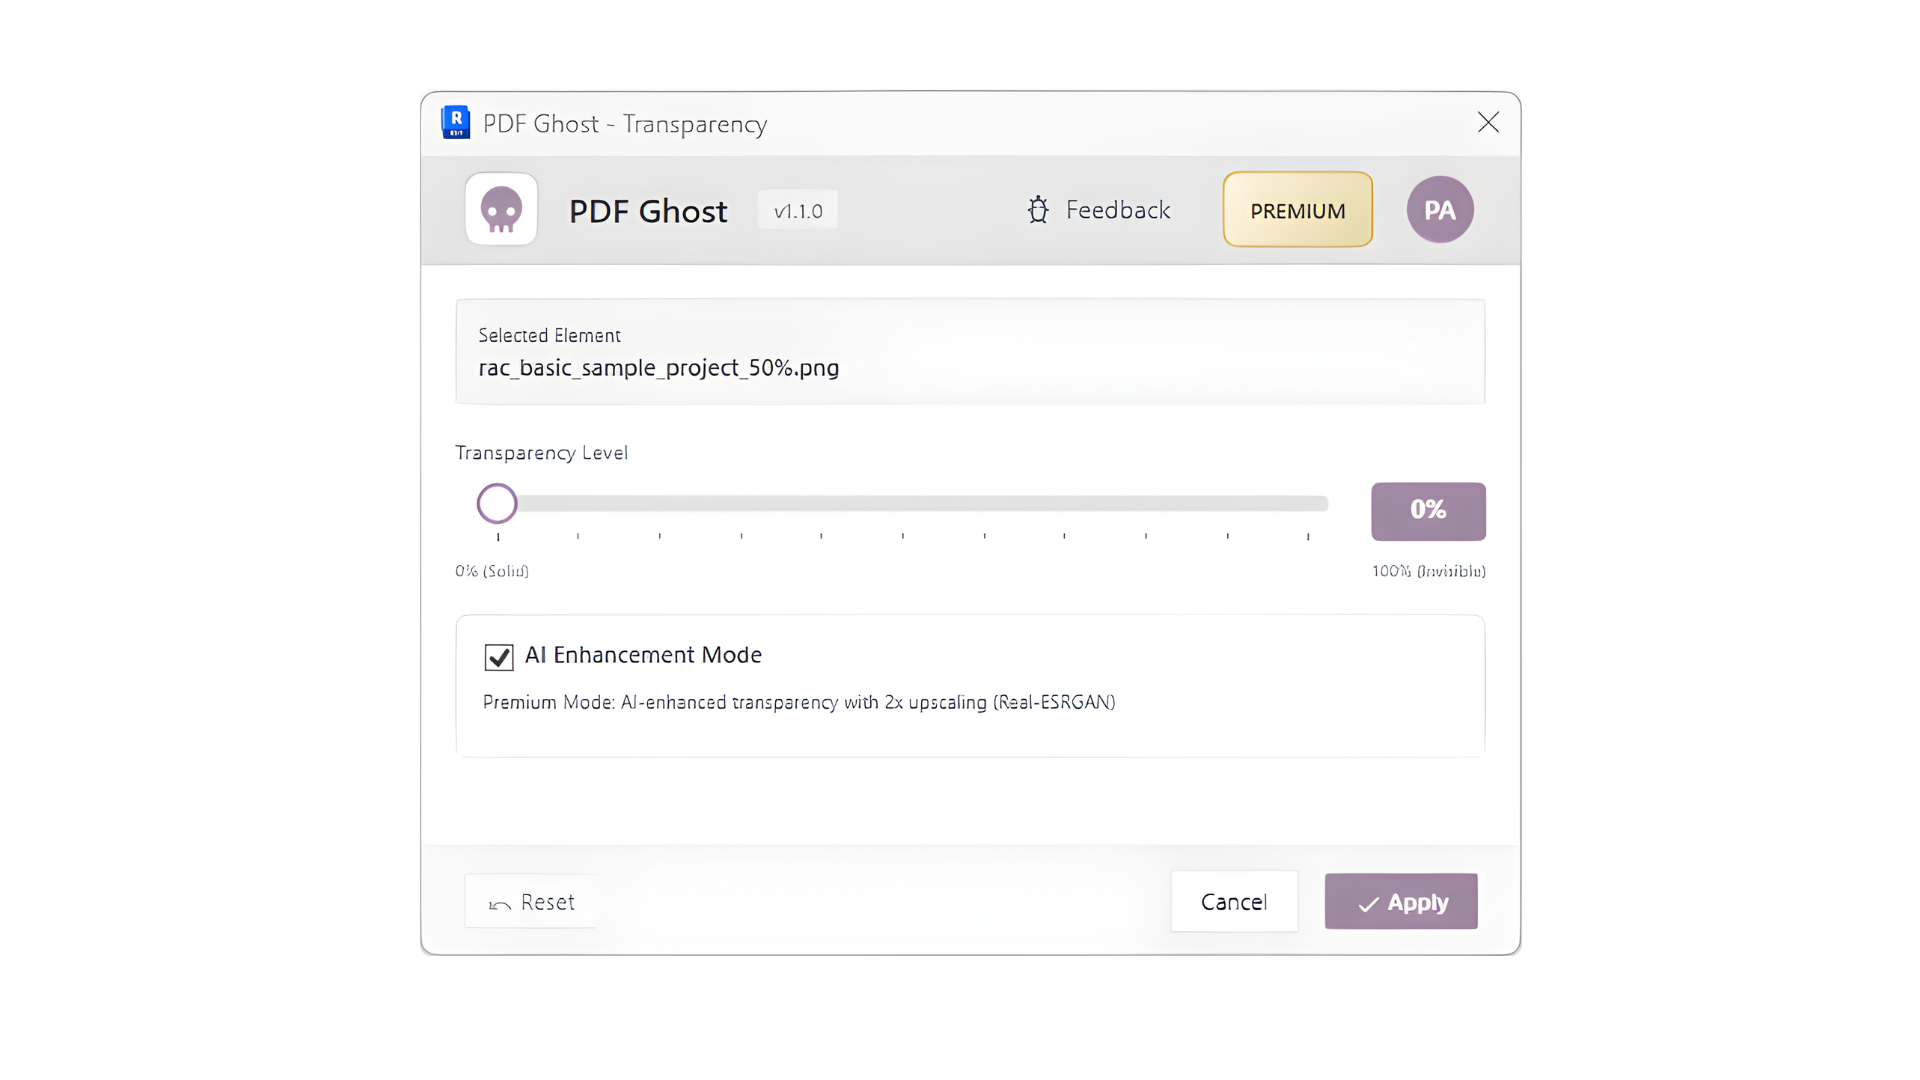
How it works#
The plugin handles the conversion process automatically. It saves the image to your computer and performs the transparency adjustment locally at no cost. You simply select the PDF image in Revit, click the PDF Ghost button, and adjust the transparency slider in real-time.
For users who need even higher quality, the Premium plan (which includes other UNIBIM features) uses AI to enhance the image quality to a level you'd normally only achieve with professional editing software like Photoshop. The plugin also preserves the original position and scale perfectly, so you never have to worry about repositioning.
Try it yourself#
The difference is night and day. Just remember to control whether your PDF layer is set as background or foreground in Revit's view settings.
Install it today and see if it solves your problem — I'm genuinely curious to hear how it works for you.
Download it here: download page.
Have questions about the PDF Ghost feature? Leave a comment below or reach out to our support team at support@unibim.io
Questions or Feedback?
I'd love to hear your thoughts on this article. Reach out directly and let's start a conversation.
Follow me on LinkedIn for more BIM tips and updates